Now that you’ve done all your reading. Let’s take a look at how I actually go about making pie crusts. Rather than try to be heard over the 7 children that were in and out of our RV while I baked this pie, we just took lots of photos.
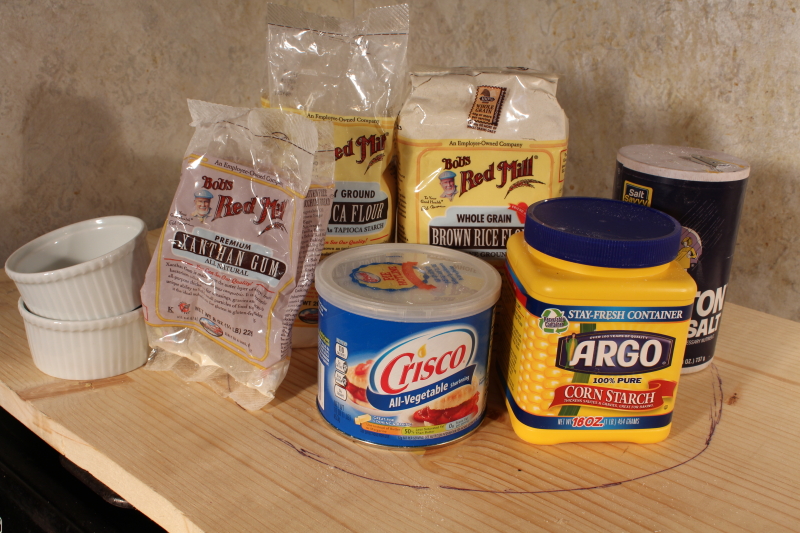
First, get out all of the ingredients: brown rice flour, tapioca starch, corn starch, xanthan gum, salt, and shortening.
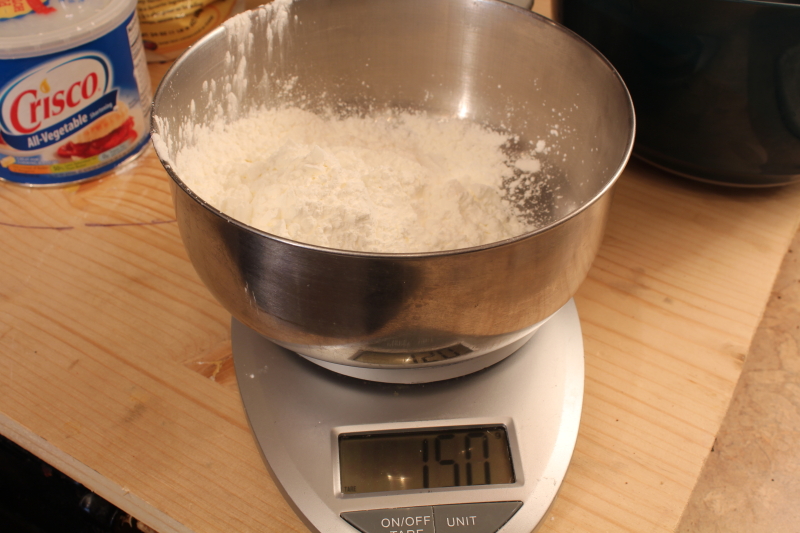
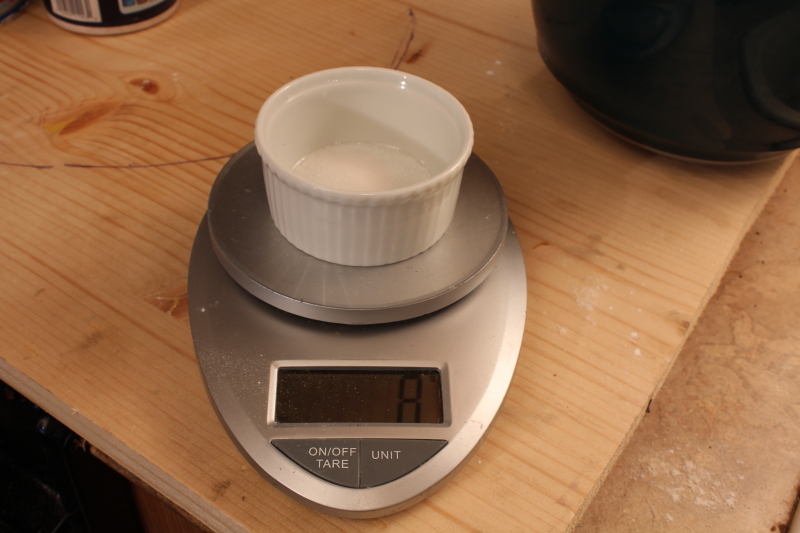
The first step is to measure out the dry ingredients. I start off with 150 grams of tapioca starch.
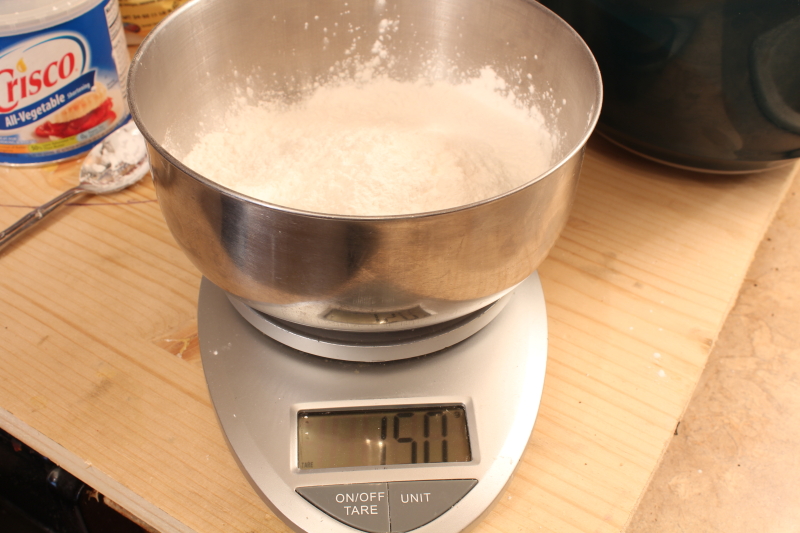
And then 150 grams of corn starch.
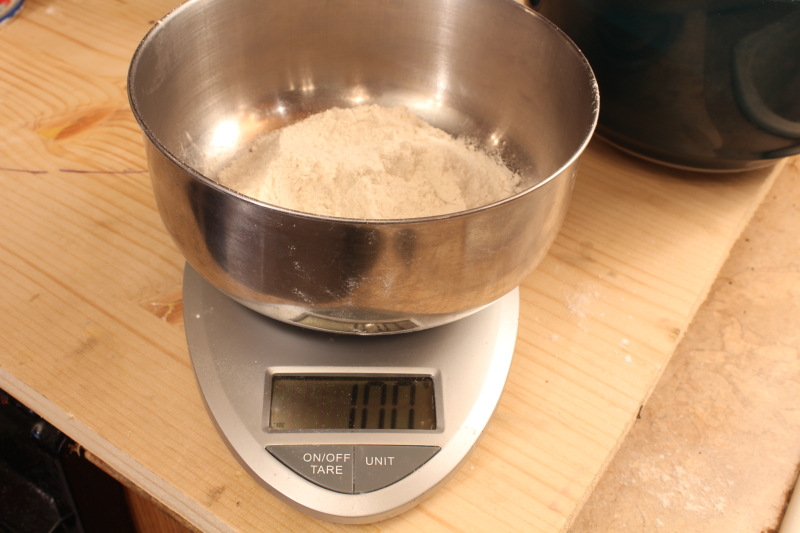
And then 100 grams of brown rice flour. Pour your flours into the mixing bowl as you measure each one.
We’ve still got two more dry ingredients. Here is the salt.
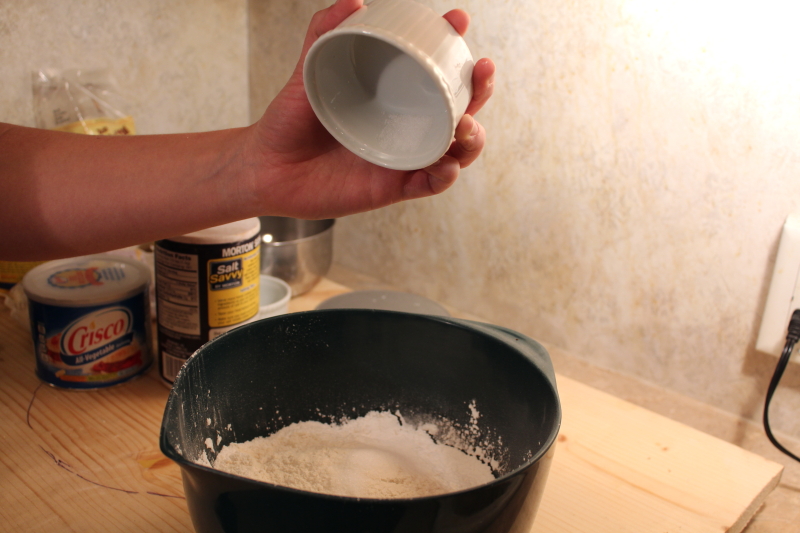
We were trying to get fancy and get a photo of the salt pouring into the bowl.
And then 4 grams of xanthan gum. Don’t forget that!
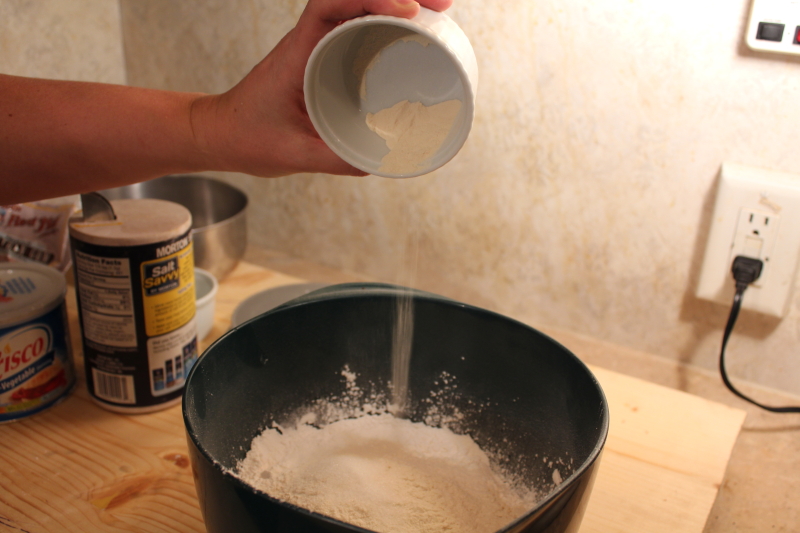
And that goes into the mixing bowl too. Hey, you can see it in mid-air!
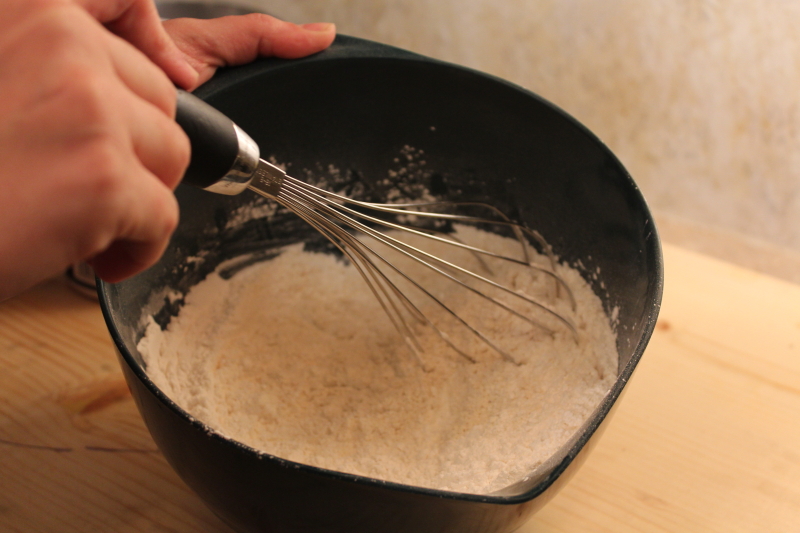
Now grab your whisk….and whisk =) Make sure all of the ingredients are thoroughly mixed up.
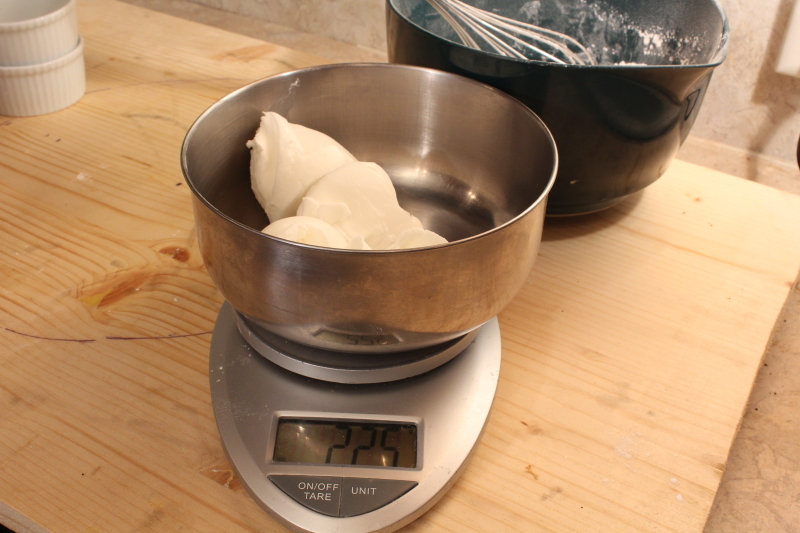
The next step is to measure out the shortening. I keep my shortening in the refrigerator so that it will be cold for pie crusts.

Add the shortening to the flour mix.
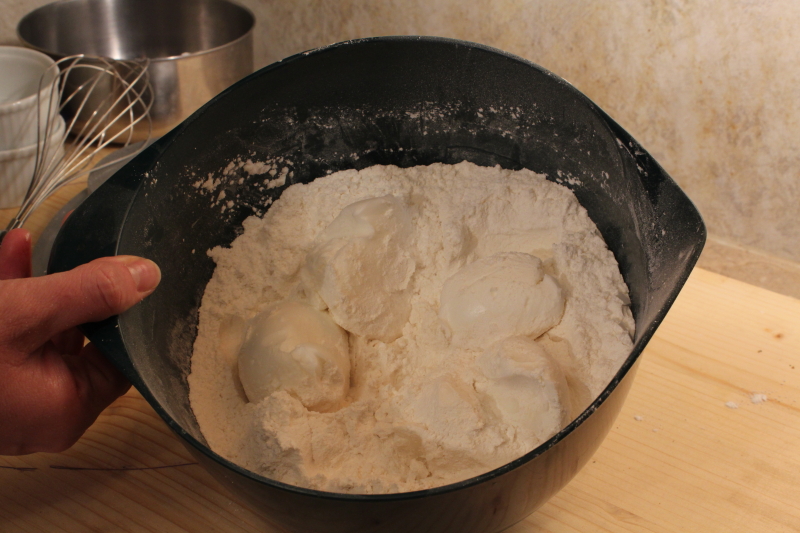
Like this.
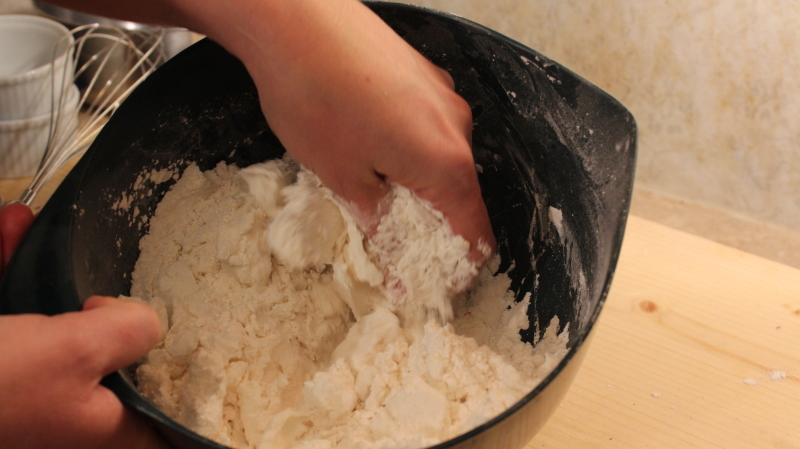
And then use your fingers to pinch the fat into the flour. You can use a pastry blender instead of your fingers. Or you could put the flour and shortening into a food processor and give it a few whirls.
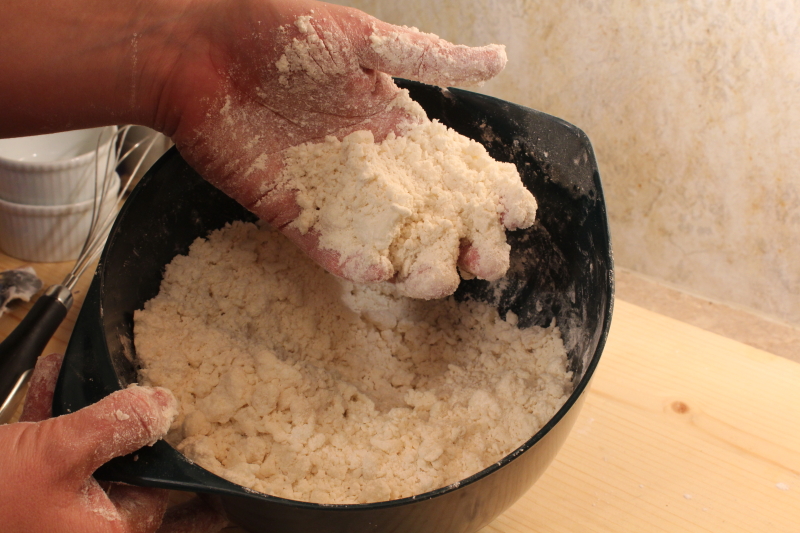
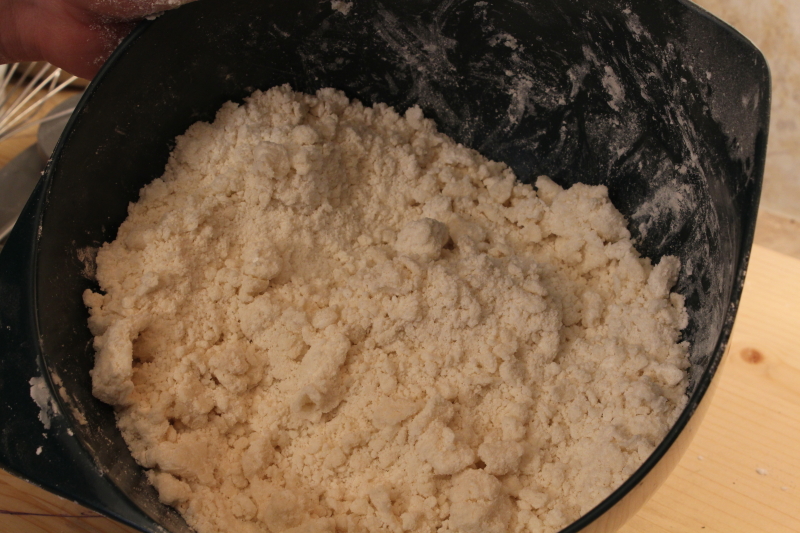
The process of cutting in the shortening takes several minutes, if you’re doing it by hand. This is what it should look like when you’re done.
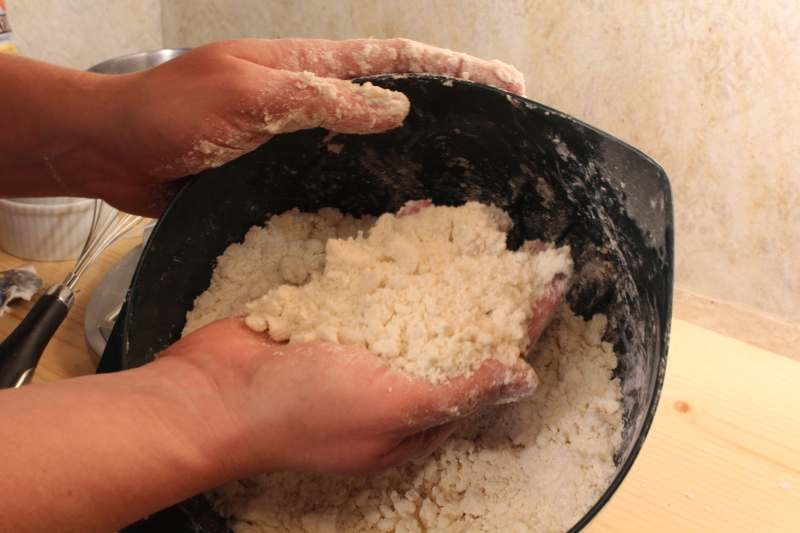
Here’s a shot from a different angle. There are some larger pieces still, and that’s okay.
Since we’re making a tender crust, we want the fat piece to be relatively small, but they don’t have to be perfect.

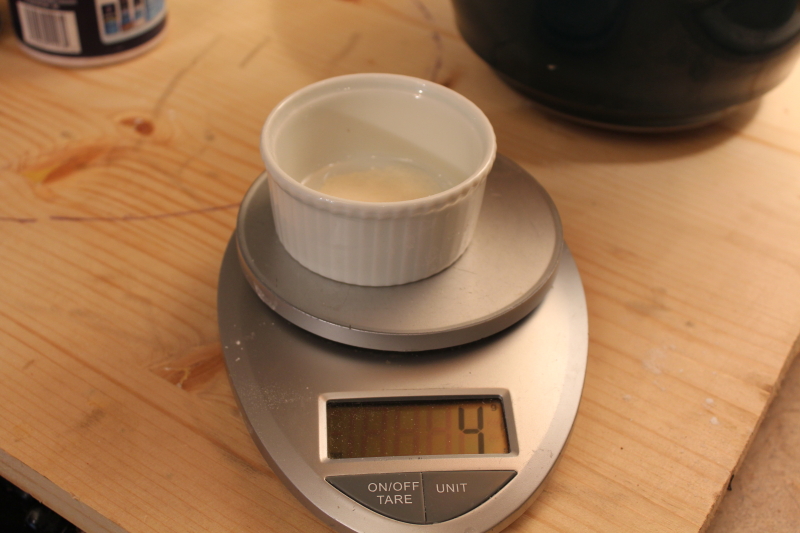
Now it’s time to add the water. This is the step that used to make me so nervous. I measure 125 grams of water in my measuring cup. I am measuring with the scale; the measuring cup is just a convenient container.
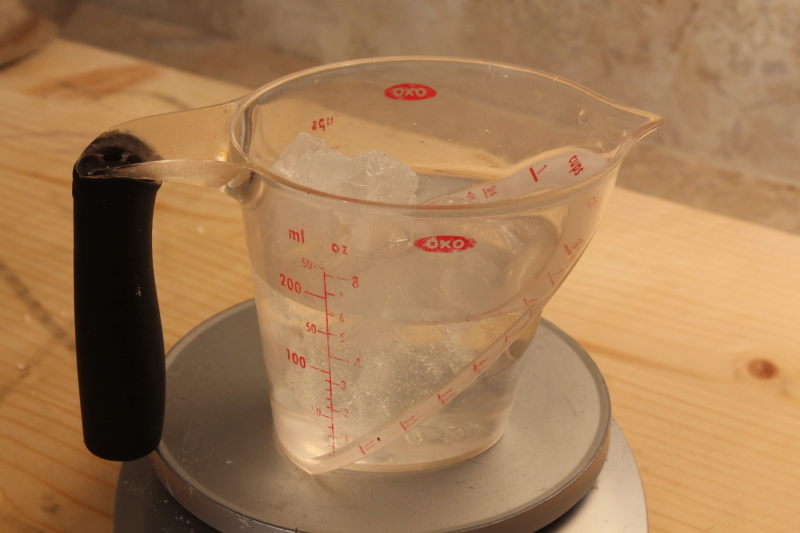
The water needs to be cold. I add ice to the water to chill it.
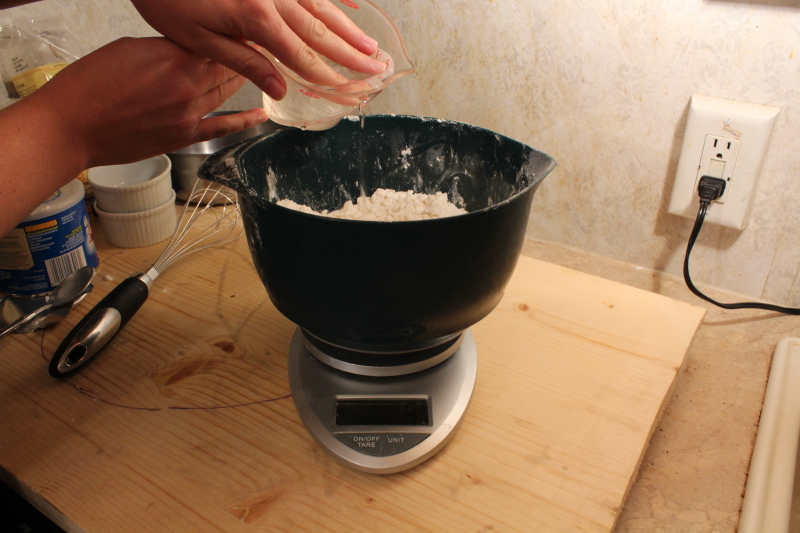
And then strain the ice out as I pour the water over the flour/fat mixture. Note that my mixing bowl is on the scale.
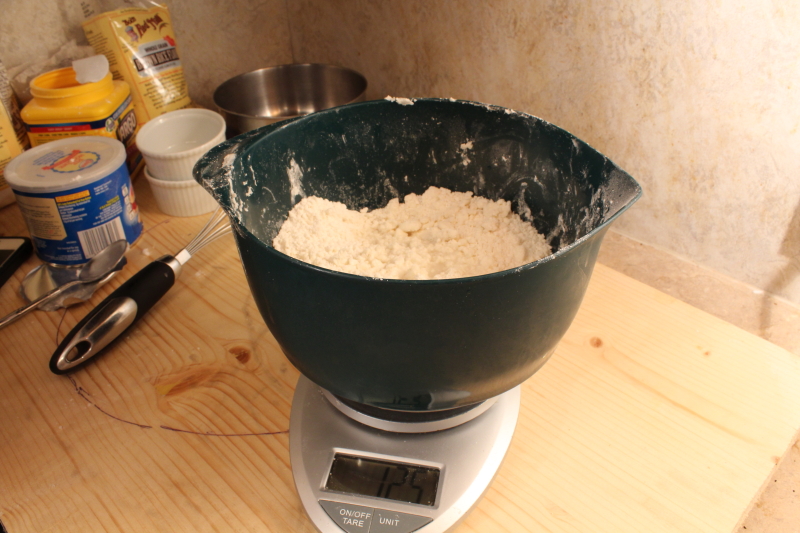 I’m measuring the water by weight as I pour it in. Even though I originally put 125 grams into the measuring up, some of the ice will have melted, so I still need to measure the water by weight as it goes into the flour.
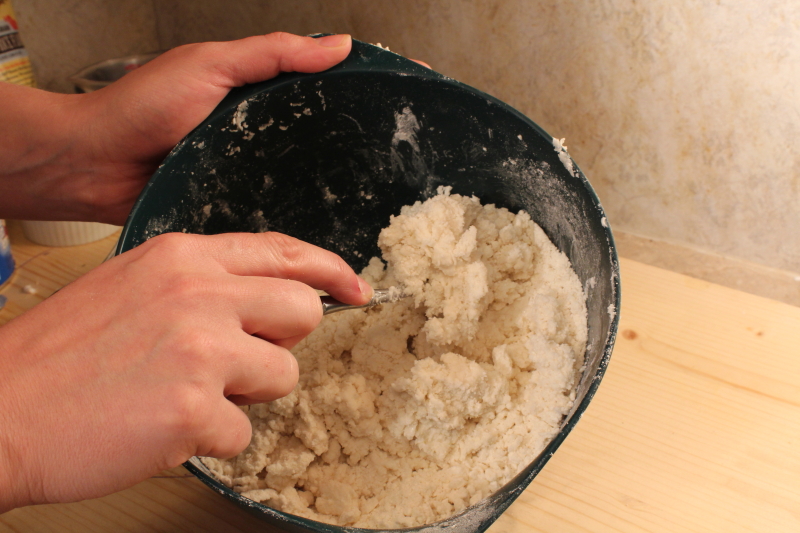 I use a fork to being mixing the moistened dough together. I’m not worried that my dough will become tough from overmixing. But I am concerned that the fat will melt, so I work quickly.
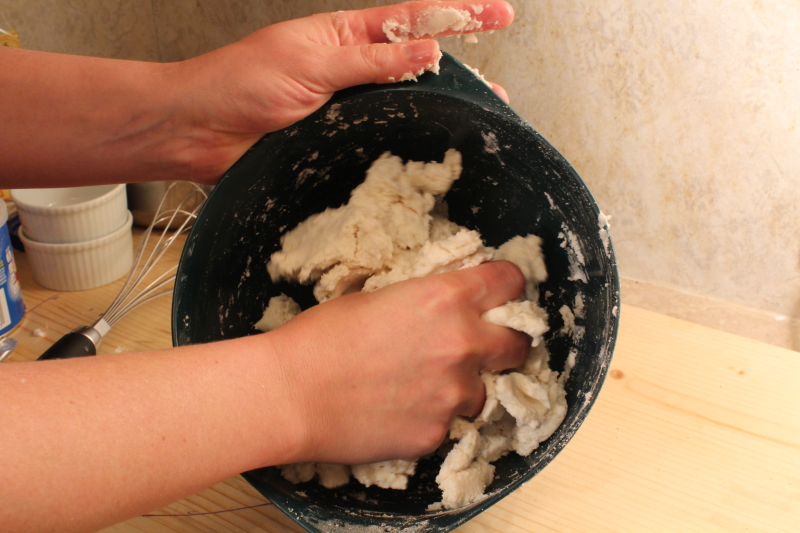 When the fork stops working well, I finish mixing the dough with my hands. If you’re using a food processor, then add the water to the flour mixture while it is still in the food processor. Then turn the food processor on and the dough will quickly form in to a ball.
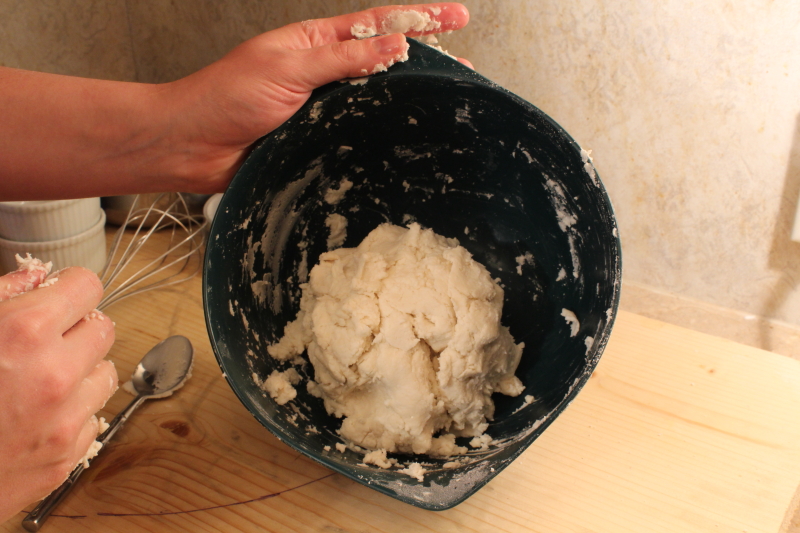
Just like my dough has!
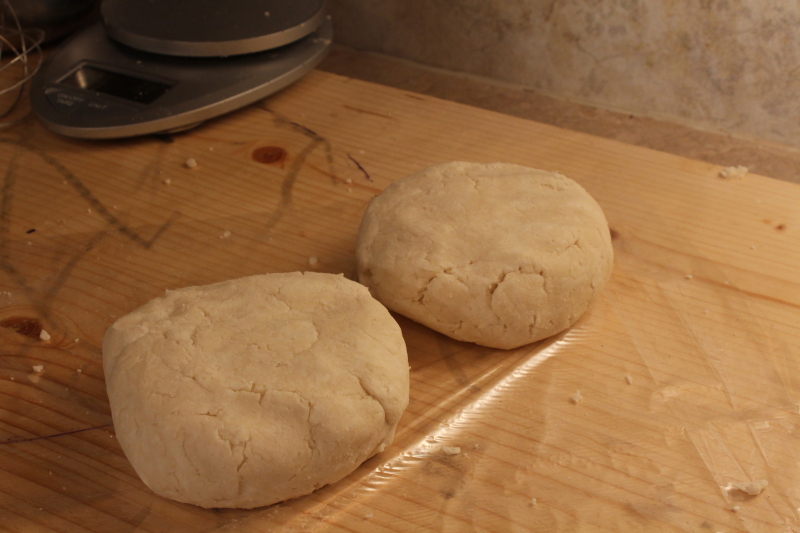
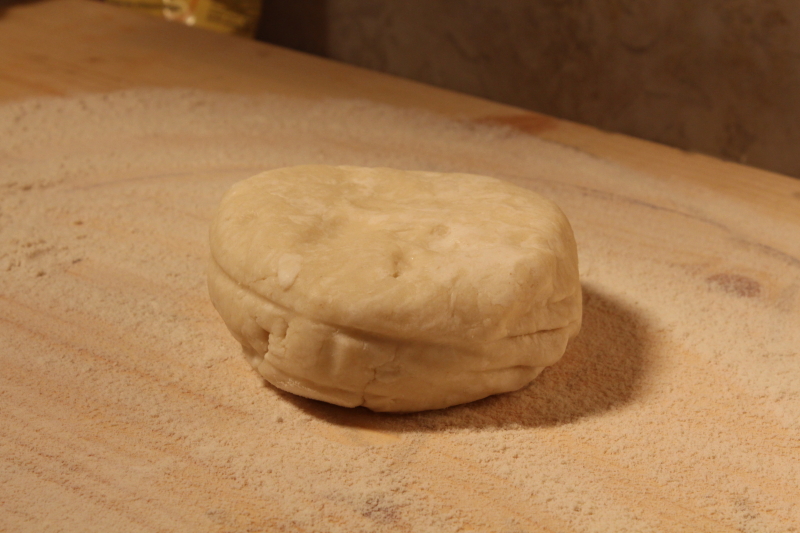
Separate the dough into two piece and flatten it into a disk.
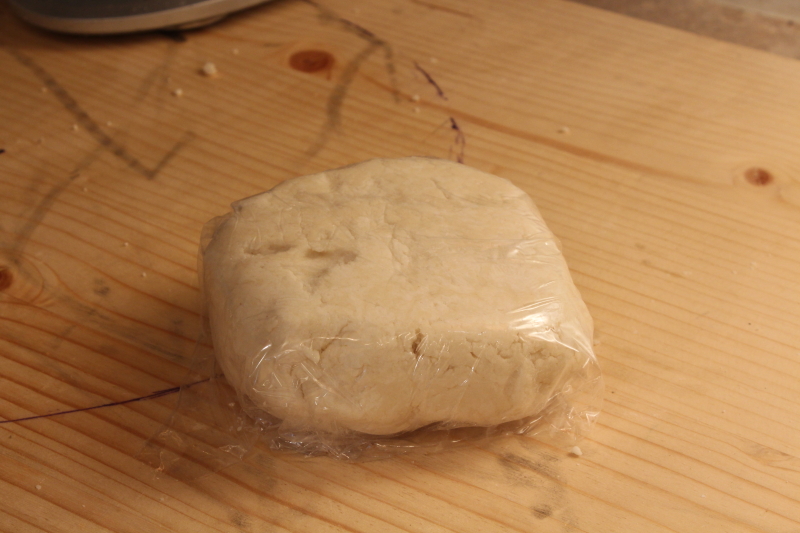
Wrap each disk in plastic wrap.
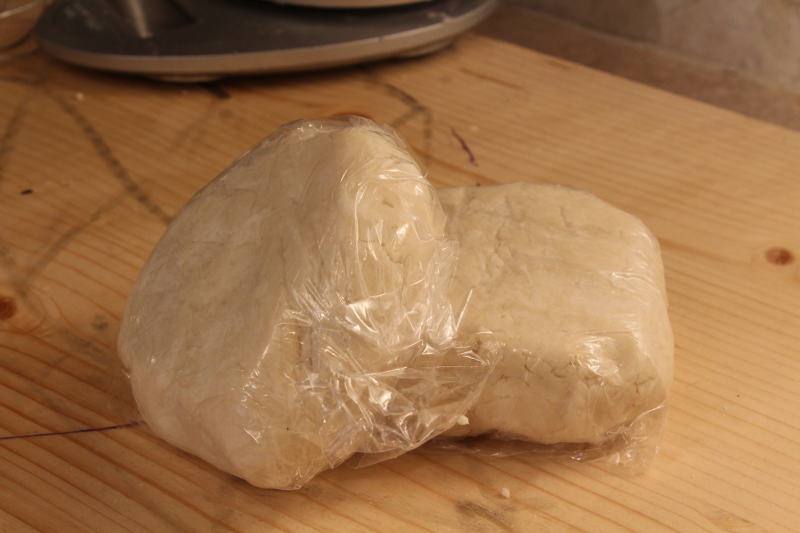
And then freeze it for at least two hours.
Fast forward a few hours! Take your chilled dough and place it on a well-floured clean surface
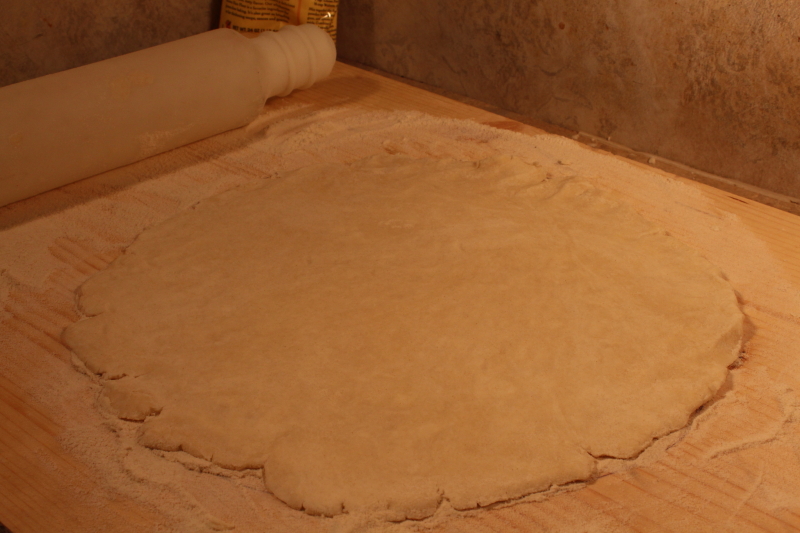
And then roll it out! Okay, well, there IS more to it than that. You can watch actually watch me roll out a crust in this video.

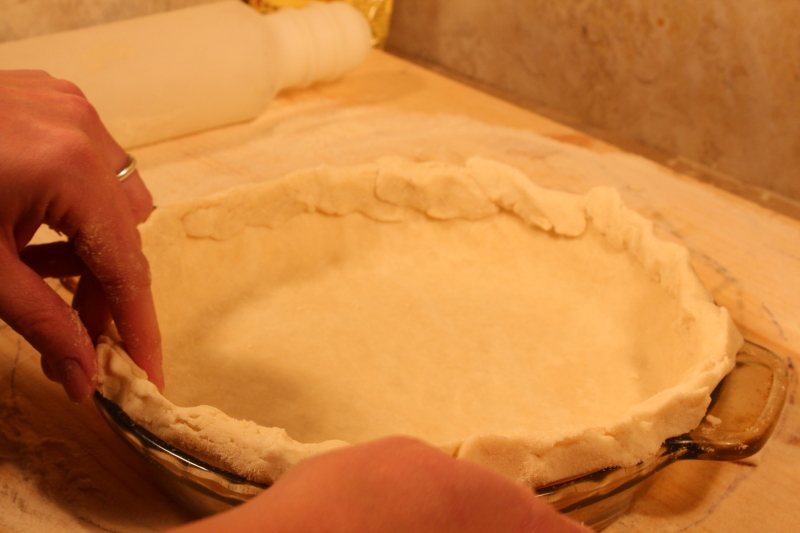
Carefully move the pie crust to your pie pan. This is difficult. You will get better with practice. Yes, you have my permission to bake as many pies as you need to perfect this skill!
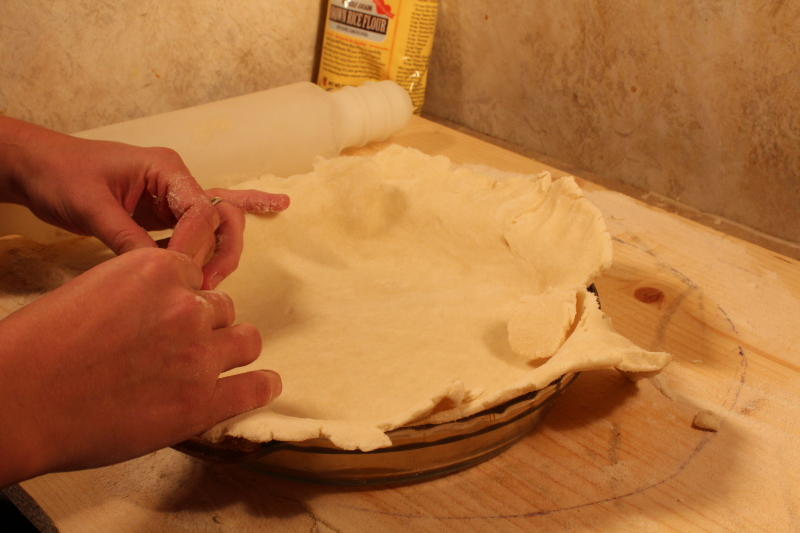
Now it’s time to crimp your crust and make it pretty.
This is difficult too. It takes practice.
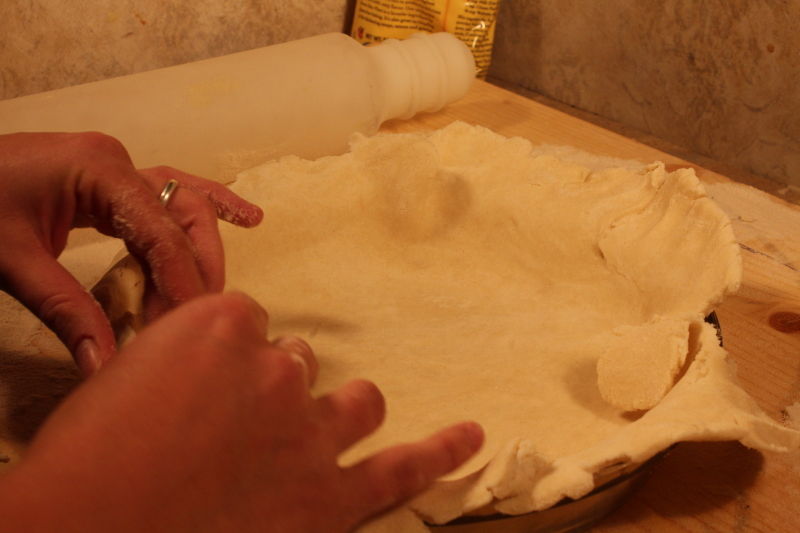
Take your time. Enjoy the process.
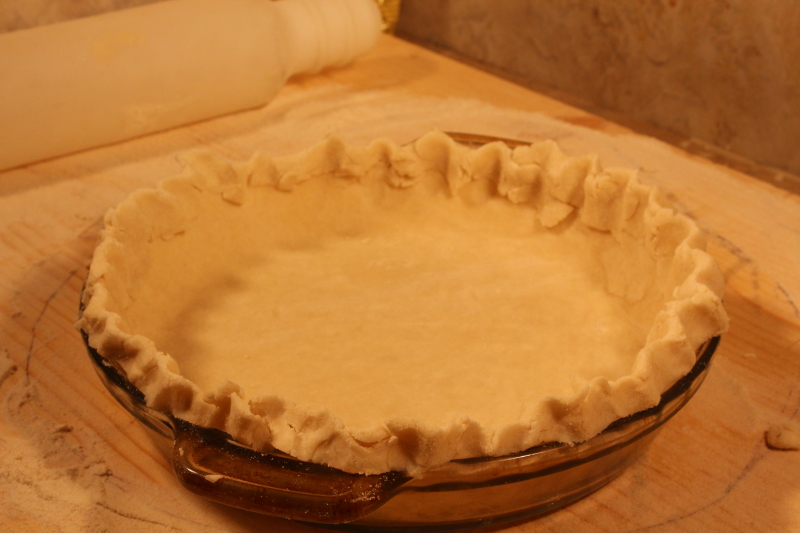
Even if it doesn’t look as lovely as you’d like, it will still taste good.
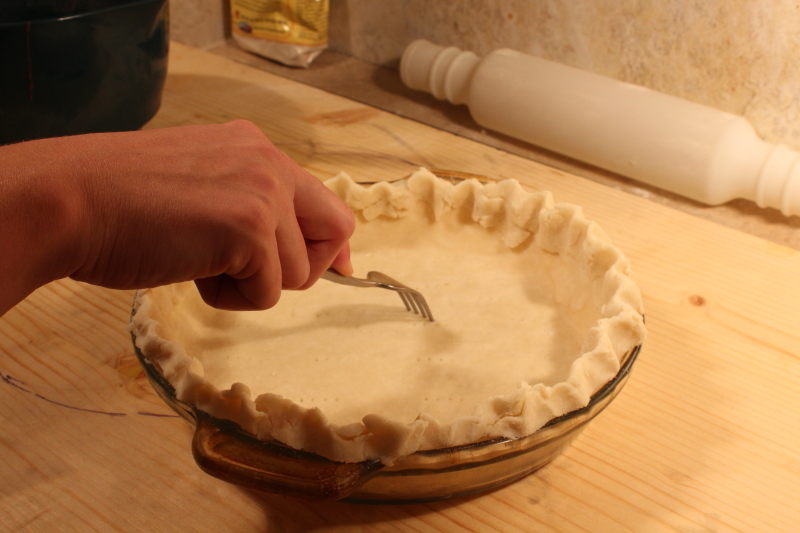
If your pie recipe calls for the pie crust to be pre-baked, then make a few holes in the bottom of the crust and slide it into the pre-heated oven. Your pie recipe should give you all the instructions you need from this point.